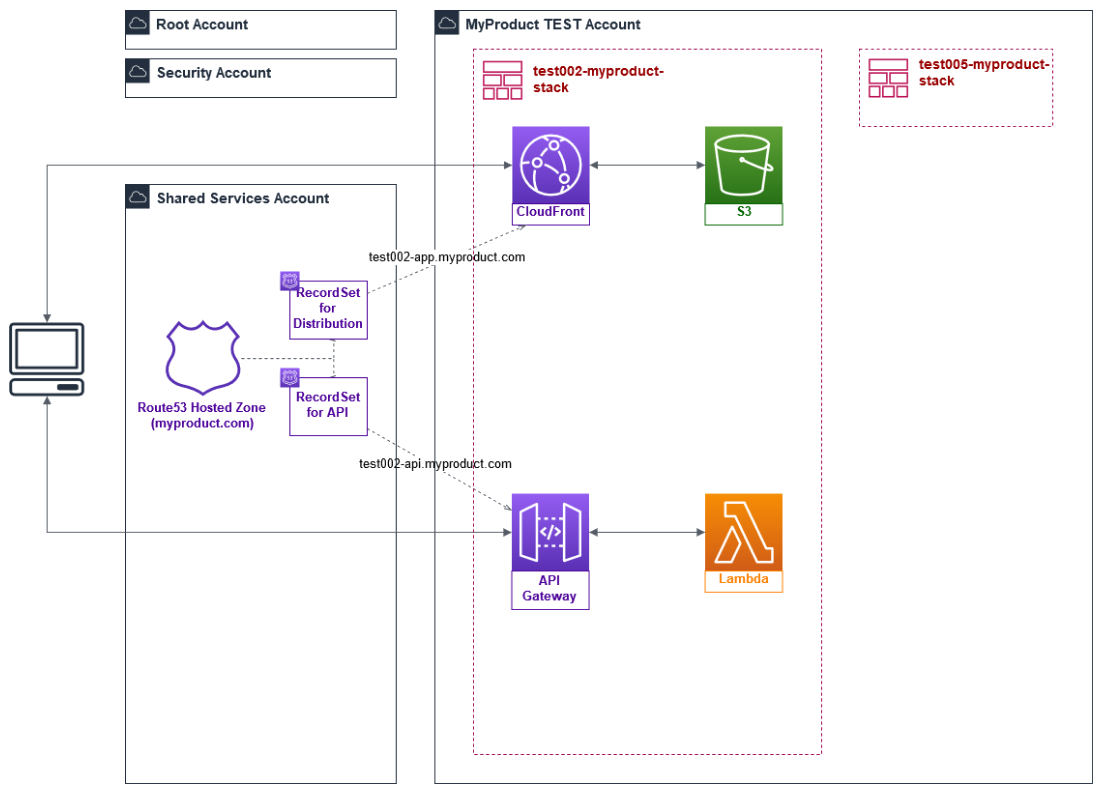
Route53 DNS hosted zones 
How it works 
![]()
![]() Route53 Considerations
Route53 Considerations
- Route53 private hosted zone will have associations with VPCs on different AWS organization accounts
- Route53 should ideally be hosted in the Shared account, although sometimes Route53 is already deployed in a Legacy account where it can be imported and fully supported as code.
- Route53 zero downtime migration (active-active hosted zones) is completely possible and achievable with Leverage OpenTofu code

User guide 
Steps
- DNS service has to be orchestrated from
/shared/global/base-dnslayer following the standard workflow
Migrated AWS Route53 Hosted Zones between AWS Accounts 
We'll need to setup the Route53 DNS service with an active-active config to avoid any type of service disruption and downtime. This would then allow the Name Servers of both AWS Accounts to be added to your domain provider (eg: namecheap.com) and have for example:
- 4 x ns (
project-legacyRoute53 Account) - 4 x ns (
project-sharedRoute53 Account)
After the records have propagated and everything looks OK we could remove the project-legacy Route53 ns from your
domain provider (eg: namecheap.com) and leave only the of project-shared ones.
This official Migrating a hosted zone to a different AWS account - Amazon Route 53 article explains this procedure step by step:
AWS Route53 hosted zone migration steps
- Create records in the new hosted zone (bb-shared)
- Compare records in the old and new hosted zones (bb-legacy)
- Update the domain registration to use name servers for the new hosted zone (NIC updated to use both bb-legacy + bb-shared)
- Wait for DNS resolvers to start using the new hosted zone
- (Optional) delete the old hosted zone (bb-legacy), remember you'll need to delete the ns delegation records from your domain registration (NIC) too.
 Review & update